Nodefender Windows 10
Sep 5, 2016 - Some users report that they can not turn off Windows Defender with 'NoDefender' in Windows 10 Anniversary Update. In this case, you can use. How to disable Windows Defender in Windows 10 permanently by Martin Brinkmann on October 25, 2015 in Windows - Last Update: December 10, 2018 - 60 comments Windows Defender is the default antivirus solution of Windows 10 just like it has been on Windows 8.
Windows Defender Antivirus is an anti-malware engine that comes included on to protect your device and data against viruses, ransomware, spyware, and many other security threats. Although it's an antivirus that provides robust real-time protection, and even disables itself automatically when a third-party solution is detected, it's not possible to permanently disable or uninstall the engine entirely like in previous versions. However, there are still a number of scenarios when you may not want to use the default antivirus. For example, when setting up a kiosk computer that won't connect to the internet and no one will be allowed to connect peripherals.
Or when performing specific tasks that otherwise will be blocked by the security feature. If you must disable Windows Defender Antivirus, despite the risks of leaving your device vulnerable to threats, there are a few ways to turn off the antivirus permanently using the Group Policy Editor and Registry. Advertisement In this, we'll walk you through the steps to permanently disable Windows Defender Antivirus on your computer. (Also, we'll show you the instructions to temporarily disable the antivirus.) • • • How to disable Windows Defender using Local Group Policy If you're running Windows 10 Pro, Enterprise, or Education, you can use the Local Group Policy Editor to disable Windows Defender Antivirus on your computer permanently using these steps: • Use the Windows key + R keyboard shortcut to open the Run command.
• Type gpedit.msc and click OK to open the Local Group Policy Editor. • Browse the following path: Computer Configuration > Administrative Templates > Windows Components > Windows Defender Antivirus • On the right, double-click the Turn off Windows Defender Antivirus policy. • Select the Enabled option to disable Windows Defender. • Click Apply. Once you've completed the steps, restart your computer to apply the changes. You'll notice that the shield icon will remain in the taskbar notification area, but that's because the icon is part of the Windows Defender Security Center and not part of the antivirus.
At any time, you can enable the Windows Defender Antivirus again using the steps, but on step No. 5, make sure to select the Not Configured option. Then reboot your device to apply the changes. How to disable Windows Defender using the Registry Alternatively, if you're running Windows 10 Home, you won't have access to the Local Group Policy Editor. However, you can modify the registry to permanently disable the default antivirus using these steps: Warning: This is a friendly reminder that editing the Registry is risky, and it can cause irreversible damage to your installation if you don't do it correctly. It's recommended to make a before proceeding. • Use the Windows key + R keyboard shortcut to open the Run command.
• Type regedit, and click OK to open the Registry. • Browse the following path: HKEY_LOCAL_MACHINE SOFTWARE Policies Microsoft Windows Defender Quick Tip: You can now copy and paste the path in the new Registry's address bar to quickly jump to the key destination. • If you don't see the DisableAntiSpyware DWORD, right-click the Windows Defender (folder) key, select New, and click on DWORD (32-bit) Value. Shivaji maharaj photos. • Name the key DisableAntiSpyware and press Enter. • Double-click the newly created DWORD and set the value from 0 to 1. After completing the steps, restart your device to apply the settings, and then the Windows Defender Antivirus should now be disabled. If you no longer want to keep the security feature disabled, you can enable it again using the same steps, but on step No.
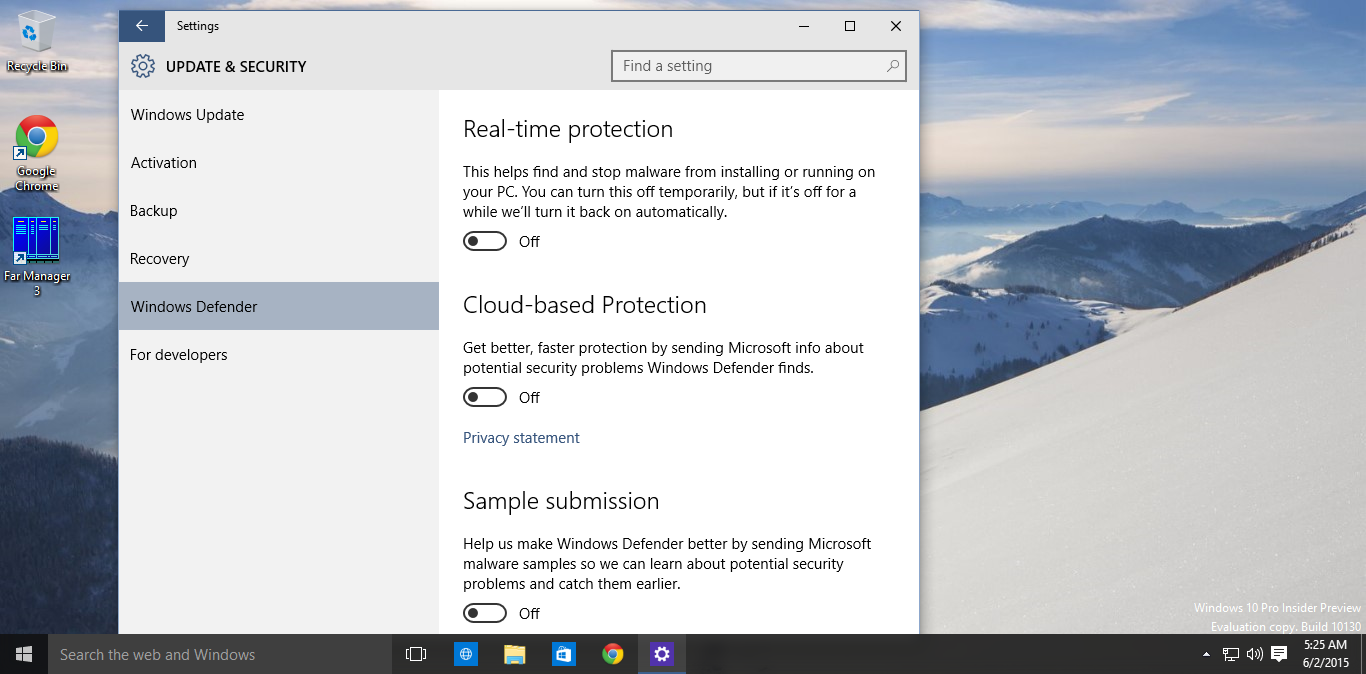
6, make sure to right-click the DisableAntiSpyware DWORD and select the Delete option. Advertisement How to disable Windows Defender using the Security Center app In the case that you're simply looking to disable the Windows Defender Antivirus temporarily, then you can use these steps instead: • Open Windows Defender Security Center.
• Click on Virus & threat protection. • Click the Virus & threat protection settings option. • Turn off the Real-time protection toggle switch. Once you've completed the steps, the Windows 10 antivirus will disable its real-time protection temporarily, which is more than enough time to install applications or performing a task that was getting blocked by the feature.
However, because this is a temporary solution, the next time you restart your computer Windows Defender Antivirus will re-enable automatically on your machine. Wrapping things up Although we're outlining more than one way to disable Windows Defender on Windows 10 permanently, we're don't recommend to run a device without malware protection. However, there are always scenarios when you may need to turn off this security feature on your computer. If you're trying to disable Windows Defender Antivirus to install a third-party solution, Windows Defender will disable itself automatically during the installation of the new anti-malware software. Here are some antivirus alternatives that won't cost you a penny if you're looking for basic malware protection: • • • • More Windows 10 resources For more helpful articles, coverage, and answers to common questions about Windows 10, visit the following resources: • • • Updated July 20, 2018: We refreshed this article with the latest information on how to disable Windows Defender.